
How To Install MongoDB On Android & Run It Natively (No MongoDB Account Needed)
There are many articles out there claiming to show how to install MongoDB on Android that start with: “Step one, open a MongoDB account. Step two, use this code to connect to the remote server”. So basically, their way of “installing” MongoDB on Android is running a mongo instance using the official Mongo service in a remote server.
That is not only deceiptful, it is pretty much useless. The whole point of having a local development setup is being able to build and run your code locally even when you have no access to the internet (for example, while flying).
In this post, I describe how to run your local MongoDB installation on and Android device and access the database using Mongoose on Node.js.
Why Should I Want To Install MongoDB On Android?
In a previous article, I described how developing on an Android Tablet is a viable option under certain circumstances. Namely, if you are working with web technologies (such as a full-stack Javascript stack).
Why would you want to code on an Android table anyway?
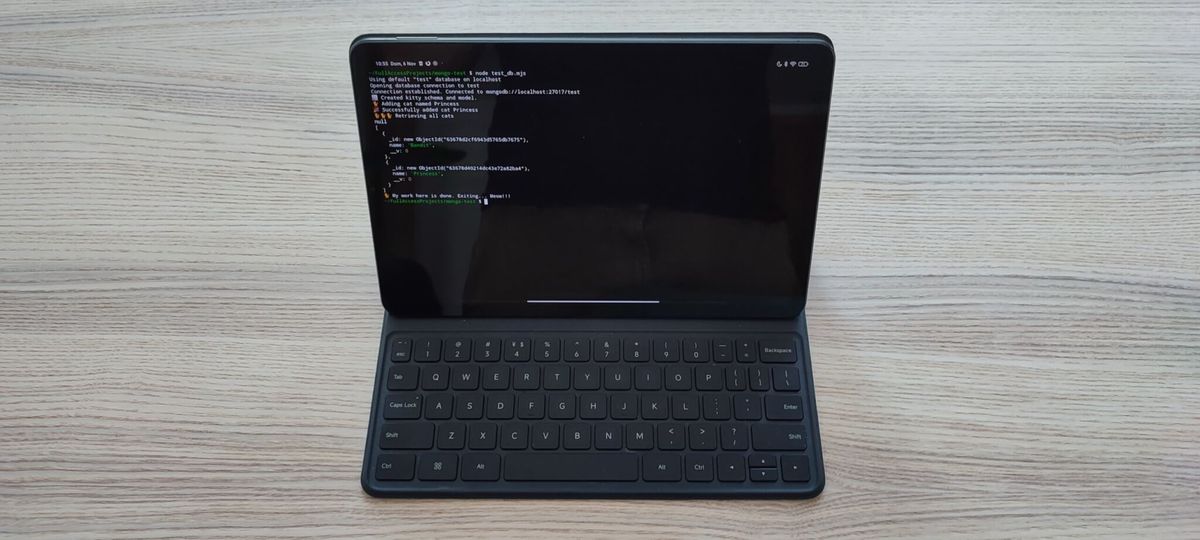
Well, I sold my iPad Pro some time ago after years of frustration trying to make it work as a lightweight coding device. I bought a Xiaomi Pad 5 and found out that it was a perfectly capable device for professional coding, except for a small detail… I could not run MongoDB on it.
Recently, though, I was able to install and run my favorite NoSQL database on the device. Let me show you how.
Termux, User Repo, And MongoDB
Forget about “normal” Android apps. If you want to get serious about your development setup, you need full control. That means installing Termux.
Termux is much more than a terminal app. It is a mini-Linux distribution, complete with a Debian-like package system, a GNU environment, and almost full access to the filesystem. Refer to my previous post if you want to learn more about the possibilities of Termux.
Once on Termux, make sure to update the repositories and upgrade all eligible packages.
$ pkg update && pkg upgrade
Then install the tur-repo repository (Termux User packages).
$ pkg i tur-repo -y
Now you can install MongoDB on your Android device with a simple command.
$ pkg i mongodb -y
Running MongoDB On Android Natively
Ok, after pkg does his magic, the mongod server should be installed and ready to run. There is no daemon or server that can run automatically after system boot, but you can build your own or run the server on a Termux screen simply by calling mongod.
$ mongod
Initially, the mongo client was not included in the package, so you could not access the database to debug or check the collections and documents. The client has, however, been added too, so you can enjoy a full MongoDB experience, from server to the awesome shell client.
$ mongo
> show databases;
admin   0.000GB
config  0.000GB
local   0.000GB
test    0.000GB
Congratulations! You have installed MongoDB on Android and can run queries and access the database.
Running Mongoose Code Natively On Android
Ok, so let’s see an example of how to access the database from Node.js using Mongoose on your Android device. We will install Node.js, NPM, and then run a small program that creates cats with random names and lists the current cats in the collection.
First, go to Termux and install Node.js and NPM:
$ pkg i nodejs
Check that both Node.js and NPM are successfully installed.
$ node -v
v18.10.0

$ npm -v
8.19.2
Cool! We are ready to run our example.
The Kitten Mongoose Example
Our code is very simple. It will:
- Open a connection to the database
- Create a Kitten schema with just one property, the name of the kitten
- Generate a kitten with a random name and store it in the database
- Get a list of all currently added kittens
You can find the whole code ready to run in this Github repository.
First, we create the connection. I offered the option of selecting a database name or a complete URL address for the database.
let connection = null;
const connectToDatabase = (dbName, callback) => {
	if (!connection) {
		if (dbName.startsWith('mongodb:')) {
			mongoUrl = dbName;
		} else {
			mongoUrl = `mongodb://localhost:27017/${dbName}`;
		}
		const db = mongoose.createConnection(mongoUrl, {
			useNewUrlParser: true,
			useUnifiedTopology: false,
		});
		connection = db;
		if (callback) { callback(connection); }
	} else {
		if (callback) { callback(connection); }
	}
};
Our program will define the Kitten schema and create the associated model upon successful connection to the database.
connectToDatabase(databaseUrl, async function (connection) {
if (!connection) {
console.log('Error establishing connection to database. Exiting.');
closeConnection(() => { process.exit(-1); });
} else {
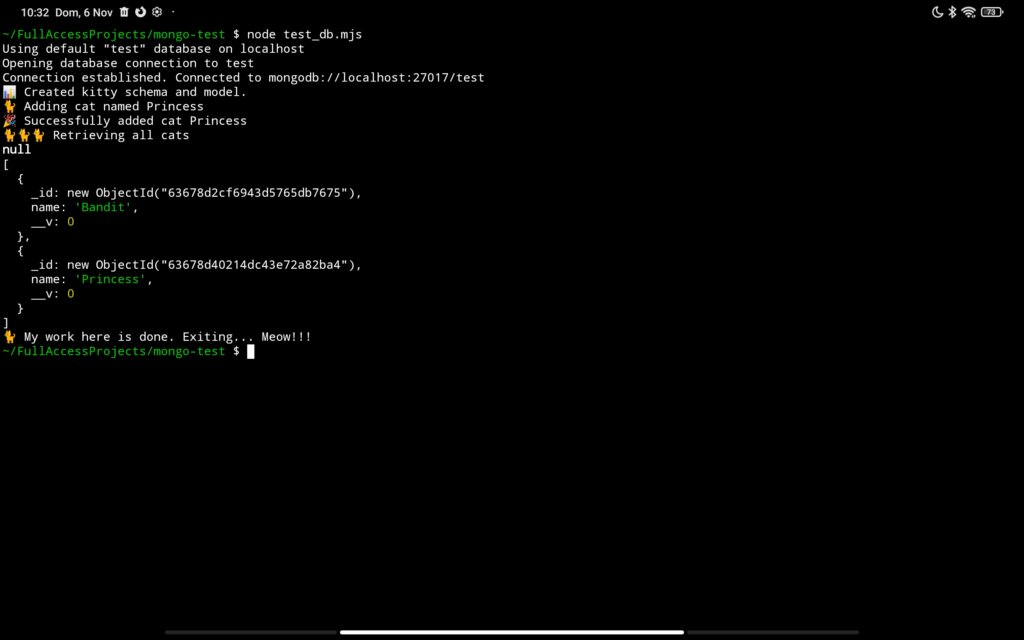
console.log('Connection established. Connected to '+mongoUrl);
}
// Define schema and model
const kittySchema = new mongoose.Schema({
name: String
});
var Kitten = connection.model('kittens', kittySchema);
console.log('📊 Created kitty schema and model.')
...
})Then, once we have a valid schema for our lovely kittens, we will add one to the database. To do that, we need a name for the new kitten. So how can we generate a random cat name? No worries, internet to the rescue. As it couldn’t be otherwise, there is an npm package to generate random kitten names, aptly called cat-names.
// Create a random cat
const name = catNames.random();
var oneKitty = new Kitten({ name: name });
console.log('🐈 Adding cat named '+name);
oneKitty.save(function (err, harrykitty) {
if (err) return console.error(err);
console.log('🎉 Successfully added cat '+oneKitty.name);
...
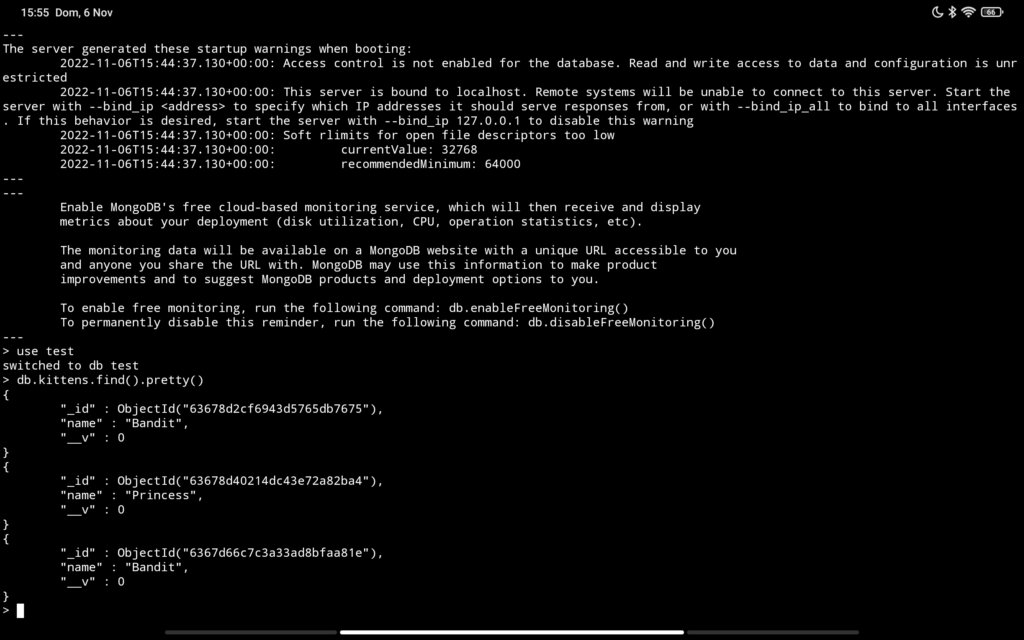
});Now to conclude we print out the list of currently added kittens. Every time you run the script, a new kitten will be generated and added to the database, and the list of all kittens will be displayed.
console.log('🐈🐈🐈 Retrieving all cats');
Kitten.find({}, function (err, kittens) {
   console.log(err);
   console.log(kittens);
   // exit
   console.log('🐈 My work here is done. Exiting... Meow!!!');
   closeConnection(() => { process.exit(0); });
});
Try to launch the script several times to see how kittens are generated and added to MongoDB, and everything directly on your Android device! Isn’t it cool? 🤓
Acknowledgements
I want to give a shout out to Kevin Williams, from the Termux group, for his help to bring MongoDB to Android. Without him, it wouldn’t have been possible. Thanks Kevin!
I hope you will enjoy developing Node.js applications with access to MongoDB on your Android device. Are you using and Android tablet as a coding tool for professional projects? I’d love to hear your story, so don’t hesitate to leave a comment below!

Comments ()